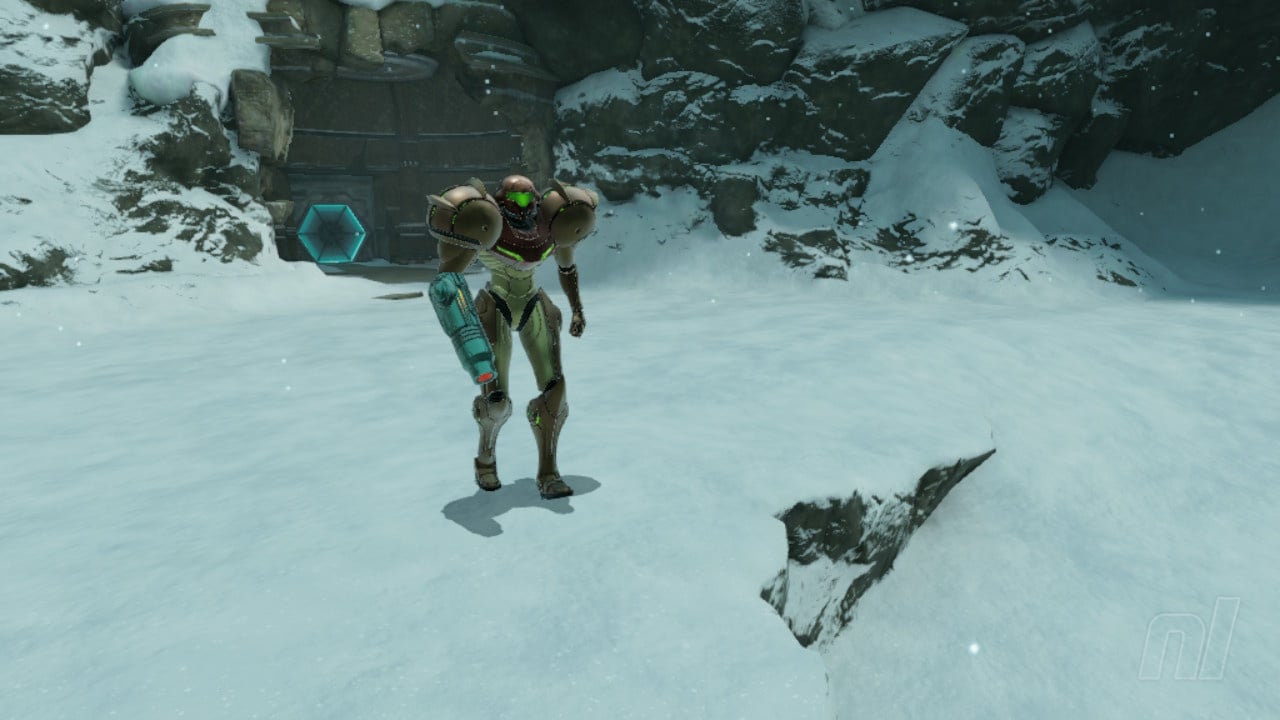
Welcome back to our full walkthrough of Metroid Prime Remastered, and welcome to the beautiful land of Phendrana Drifts.
Now that we're out of Magmoor Caverns, we can take a bit of a breather in the knowledge that we're not in any danger of falling into any lava. But we warned, there are still loads of dangerous beasties roaming the environment, so be on your guard.
Metroid Prime Remastered: Walkthrough - Phendrana Drifts
Stepping out of the elevator, you'll find yourself blocked off by a large chunk of ice. Fire at it with a charged Power Beam shot, then shoot a second one a bit further along. Head through the door at the end to trigger the introductory cutscene for Phendrana Drifts.
In the Phendrana Shorelines, head directly ahead to find a Save Station.
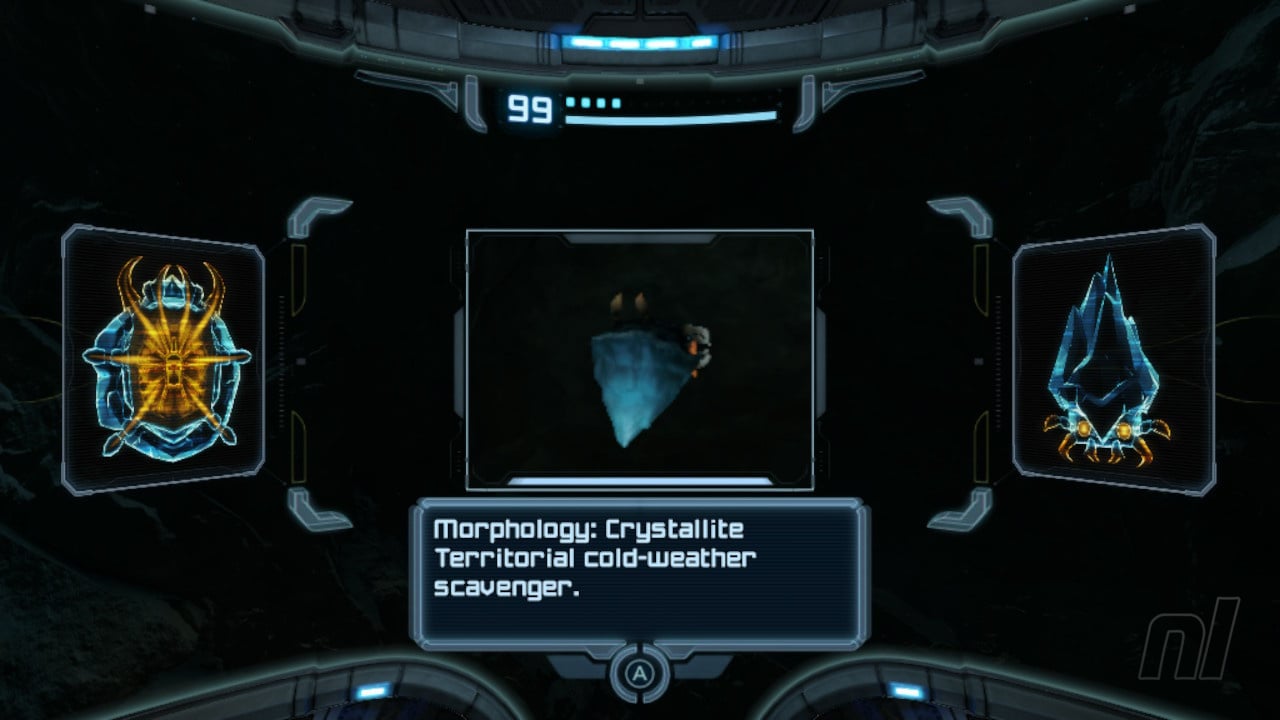
Scan Entry - Crystallite
Roaming about the Shorelines are Crystallites, small creatures that look like chunks of ice. Scan one of them. You don't have to kill them, but a quick missile shot will take them out.
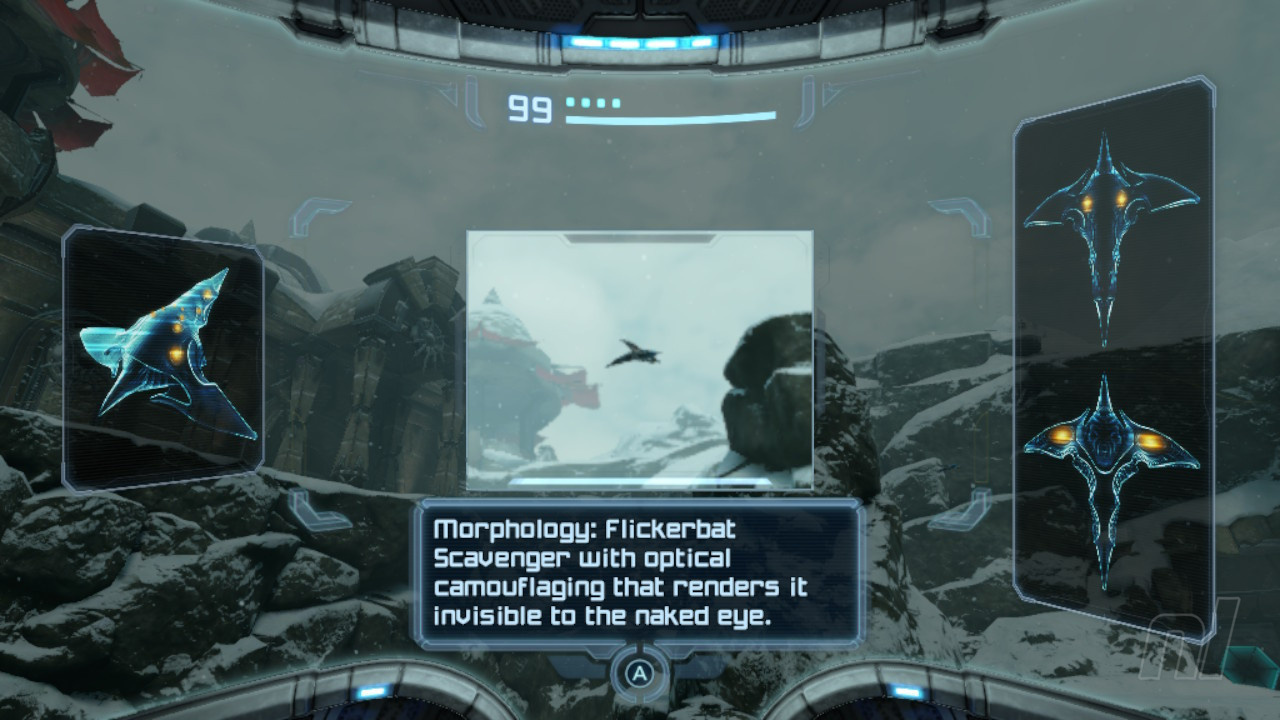
Scan Entry - Flickerbat
Flying around the Shorelines are Flicker Bats. Again, these will pose no threat to Samus, so scan one and leave them be.
On the left-hand side as you enter the Shorelines, you'll see an electronically locked door on the upper level. To unlock this, check out the grating underneath. You can fire a missile at this to destroy it and Morph Ball your way through the gap. Scan the device at the end to unlock the door above. Head on through.
You'll see another block of ice blocking your path. Charge up your Power Beam and get rid of it.
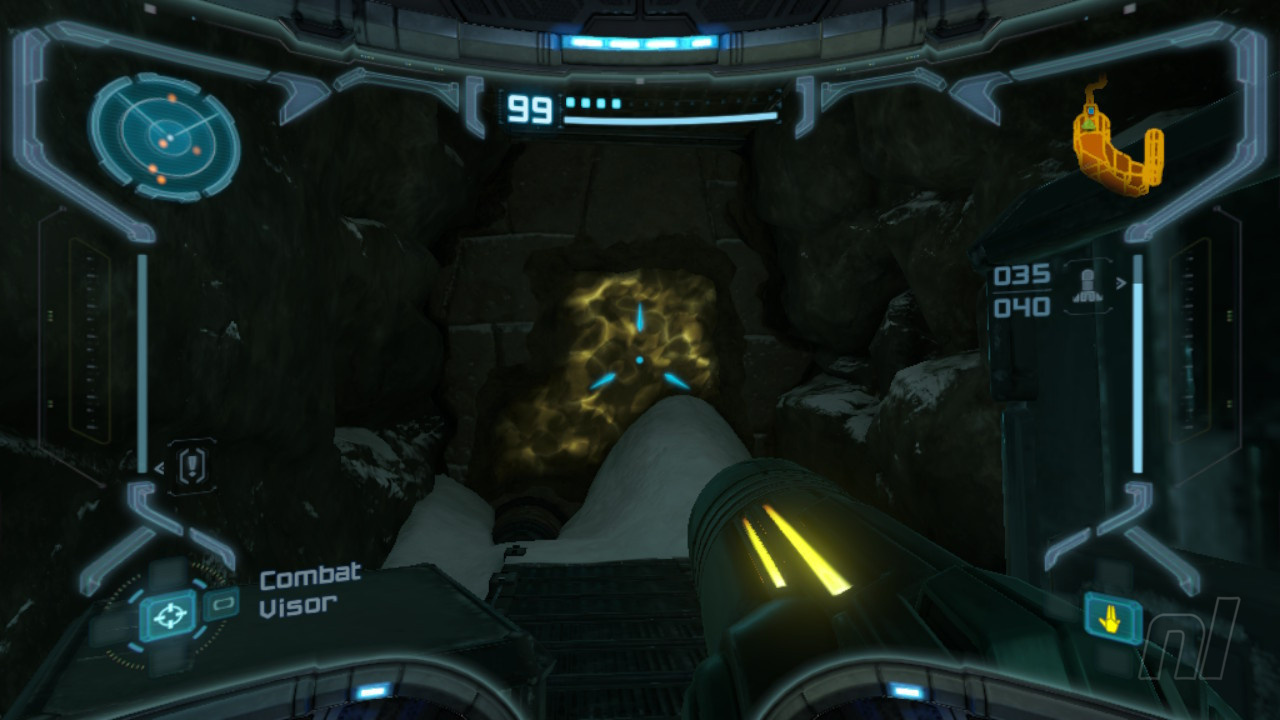
Scan Entry - Scatter Bombu
Just up ahead is the game's first Scatter Bombu - scan it. This is a floating electrical orb that shoots out electricity in three directions. Turn into a Morph Ball and roll through the gap as the Bombu spins around.

Move on through to the next area, the Ice Ruins.
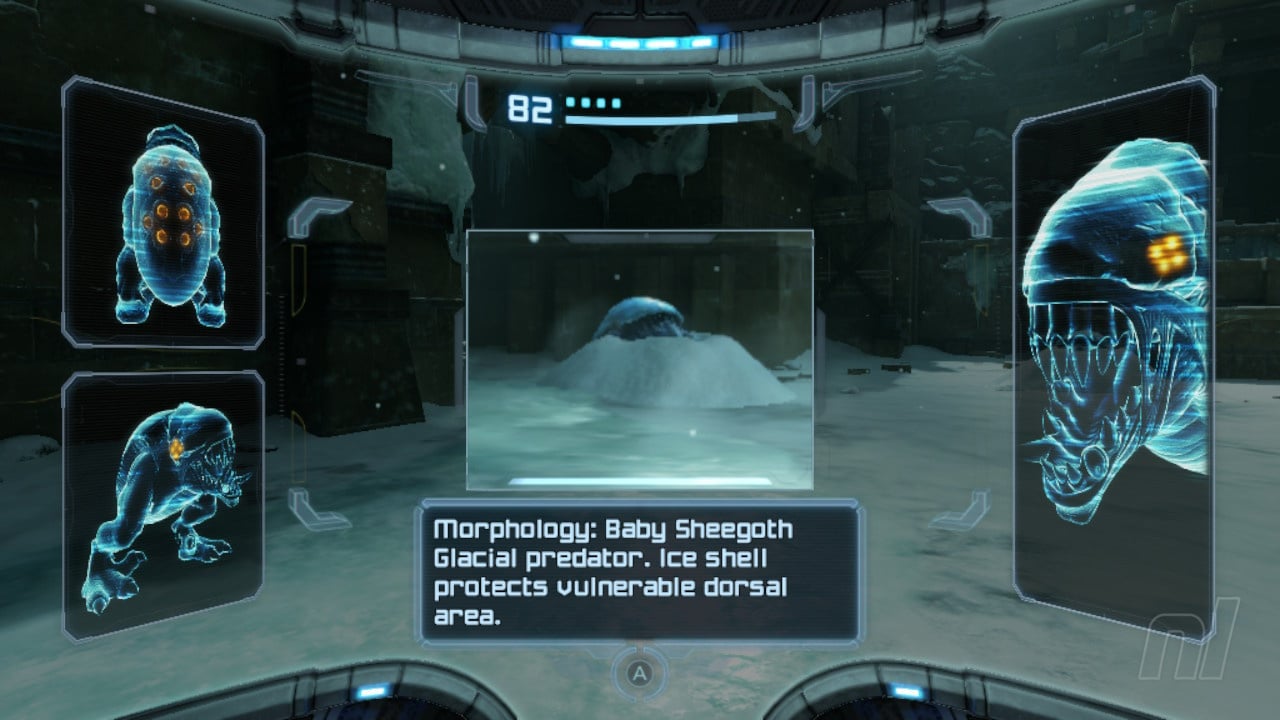
Scan Entry - Baby Sheegoth
See those icy bulges sticking out of the ground just ahead? Those are Baby Sheegoth and they'll wake up if you move too close to them. Scan one of them while you're at a safe distance. In order to defeat them, you'll need to lock on and strafe so you get their icy backsides in view. Keep firing until the ice breaks, then shoot a few more times to bring them down.
Now, make your way up the platforms and head around the edge of the area, avoiding the Crystallites as you go. Eventually, you'll come to a door that leads through to the Plaza Walkway.
Scan Entry - Ice Burrower
In the Plaza Walkway, two Ice Burrowers will pop up and spit at you - rude! Scan one of them and get rid of them in the same way as the regular Burrowers.

Now move through and back into Phendrana Shorelines. This time, you're way up high, so for goodness sake, don't fall down, otherwise you'll need to go back through the aforementioned areas. Instead, simply walk up and through the door to your left.
Move past the Pulse Bombus here and into Ice Ruins West. Either move past the Baby Sheegoths here or take them down; up to you. To the right, fire a missile at the door and go through. Avoid the Scatter Bombus here and make your way through to Phendrana Canyon.
Scan Entry - Chozo Lore - Phendrana Canyon
Before you do anything else, drop down to the ledge below you. Turn around and you'll see some Chozo Lore on the wall. Scan it!
Now drop down to the floor. Dispatch the Baby Sheegoth and head up the slope to the right. Get rid of the Crystallite, then scan the device on the right. This will align a bunch of floating platforms so you can cross the Canyon.
Power Suit Upgrade - Boost Ball
Cross over the platforms and just up ahead you'll see the Boost Ball lying in wait. Get it!
Now that we've got the Boost Ball, it's time to high-tail it back to Tallon Overworld to pick up our next major piece of kit...
Check out our full Metroid Prime Remastered walkthrough for more tips and tricks.


Comments (0)
Wow, no comments yet... why not be the first?
Leave A Comment
Hold on there, you need to login to post a comment...